Showing posts with label Goodwill. Show all posts

Saturday, January 17, 2015

Repurposed Organizer

 I was in a craft store awhile back and saw some organizer with feet thingys and thought they were super cute. And then I saw the price tag. 

Seventy-five dollars!!!


It didn't take long to figure out that it was basically a utensil organizer on steroids. For $75. Not gonna happen. 
So I kept my eyes open for one that I could repurpose myself. Because I need more DIY action around here. 


I found one at my sister's garage sale. I painted it light Aqua with leftover paint and added knobs for feet that I already had from my daughter's old curtains and some dresser hardware I found in Canton. Total for this refinish? $1.25!!!!
Not including all of my Valentine's goodies, of course. 


Wednesday, October 15, 2014

Canton Loot

I recently went with friends to the flea market in Canton, TX and came back with some pretty good loot.


The best score? An old sled. Because if you are from Louisiana, you just don't find sleds. It doesn't snow much here. But a lady from Connecticut had these and I'm excited to use this for my front door Christmas decor. 


My friend found this candle sconce and asked the booth owner how much it was and I thought he said $110 so obviously I said no thanks. Turns out, it was ten dollars. It's going in my craft room.


Love this guy. It's a snowflake made from a tin ceiling tile. Paid way too much for this one, though. I know because at a different store it was $10 cheaper. Doh! That is not a mistake I make very often.


Actually, this frame came from Goodwill, but I snuck it in here. This recently received a makeover, so stay tuned for that. *You can see that here.


This little brassy shelf is bent and rusty, but it was only $3 and a girl can never have enough shelves. Am I right? You know I am. I will probably spray paint it. Not sure what color.


I have absolutely no idea what I am going to do with these metal basket tray thingys, but it's going to be awesome.


Brass is all the rage right now, so I couldn't leave this basket in the booth. Click here to see what I did with it.


Alas, this one really didn't come home with me. Pooh. And it wasn't even at Canton. It's in a local antique shop. And to be honest, I'm not positive it is even old. I'm suspicious. It may just look old. BUT, I love it!!! I love all the cubbies. I love the numbers. I love the chippy paint. And I really want to take this piece of furniture home. But it is pretty yellowy which is not the right color for my other stuff. But I am willing to change everything else.


Annnd these are the friends I rode with. Annnd we ran out of gas on the way. Yes we did. Coasted downhill, then walked uphill to the gas station, bought a gas can and left it there so we didn't all get high from the gas smell.

Note to self: Don't listen to the girl in the back who wants to wait for the good gas station with the Sonic inside so she can get fruit water. Just stop when the Empty light comes on. Definitely when the alarm goes off. 

I can't wait to go back to Canton! With gas.

Tuesday, September 30, 2014

Halloween Home Tour


My ten year old daughter says yesterday, "It hurt so bad! It's like a ghost came up and tased me!" 
Hmmmm. I can totally relate. 
No, I can't. 
She was referring to...a paper cut.

Not even sure how she knows what a taser is. Probably listening in the car to the Walton and Johnson Taser Report with her Dad, which is probably not appropriate for kids.
But it is pretty funny.

Now on to the Home Tour. Where you won't find any ghosts. Or tasers. 


As much as I hate the TV above the fireplace, it just had to be placed there. I decided to opt for more seating, so the only blank wall has a chair and cobbler's bench. You can see the post for how to make the BOO banner here.


I got the old books from the FREE bins outside the new store in town called 2nd and Main and just tore off the covers. They are vampire books, which is cool for Halloween, but no one will ever notice. Mwah mwah. On the candlestick, I layered more copper scrubber from Dollar Tree over the black netting that was formerly packaging for mini skulls and added a silvery pumpkin on top.


Here is a secret I learned from my days as a Display Designer for Stage Department Store. (Yea, I got to dress the mannequins, too. Pretty fun job. Except the part where you have to carry a REALLY tall ladder around the store without taking out any customers.) 
Your items should form a triangle. 


If your display seems a little blah, it may be that all of your objects are too similar in height and you can't place them in a triangle formation. It they are all tall, or all small, it just isn't as pleasing to the eye.


My daughter loves this witchy Halloween vignette on the cobbler's bench my husband's grandfather made. She read the potion book and added her own touches like the poison apple that she took a bite of , mummy dust in the vintage vials from my father-in-law's days as a Chemistry teacher, and old hag's cackle (aka red kool-aid.)  Of course, every good witch needs apothecary jars and drawers full of creepy things like skulls, scorpions, and centipedes (also from Dollar Tree). EEK!


I found an old book with an orange cover and black spine at Goodwill to make the witch's potion book. Tim Holtz distress ink was used to make it look old after spray gluing the printed spell pages over the book pages. This idea came from g*rated with a printable.


It's not Halloween without pumpkins and big ole spiders. Especially glittery and gold leaf pumpkins.


These metal spiders look like the ones in the Pottery Barn catalog, except I only had to pay $4 for these because I found them at Ross. Preeeetttty excited about that.


Here is where the chalkboard lives from an earlier post and even earlier post. And you can see the tutorial for the skull centerpiece here.


This display is a little bit of lagniappe (a little something extra.) I had a small brass tray that I found at Goodwill for $3, another pewter goblet from Goodwill stuffed with old dictionary crinkle paper topped with a Dollar Tree pumpkin, a raven also from Dollar Tree, and miniature flags that I made years ago.


Don't tase me, Bro!!


Just a Girl and Her Blog
Linked up at snapcreativity.com and 3boysandadog.com and knickoftime.com and www.wecallitjunkin.com.

Wednesday, September 3, 2014

Halloween Skull Centerpiece

Remember those Dollar Tree Halloween Finds I showed you last week? Here is the first project I made using the glitter skull.


Mypinterventures.com is having a Fall Dollar Store Craft Contest and I decided to try my hand at it.


So I made another trip to the Dollar Tree.


Can you believe all of these items were close to a dollar each? 

The items you will need are:

Glitter Skull-Dollar Tree
Craft Foam Sheets-Dollar Tree
Copper Scrubbers-Dollar Tree or Fred's Dollar Store
Black Crepe Paper Streamers-Dollar Tree or Fred's Dollar Store
Orange Cupcake Liners- Fred's Dollar Store
Dictionary or book-Dollar Tree or Fred's Dollar Store
Paper Doilies-Dollar Tree
Black Glitter Ribbon-Michael's dollar ribbon bins
Spider Web Place Mat- Ross for $1.99 (They have great decor right now!)
Candlestick-Goodwill for $1 (I looked for them at three dollar stores and they were all out. Dollar Tree normally has glass ones that would work as a pedestal for this. I spray painted this one. You can see it in its former life here.)


I started by making the top hat using a sheet of orange craft foam. I didn't have any black because I used it all on a different project. I cut a strip 2 inches wide.


Next, I traced a circle onto the craft foam with a ribbon spool and cut it out. This will be the base of the top hat.


Then, I rolled the strip of craft foam into a 1 1/4 cylinder and glued it closed. Let that dry and glue the cylinder onto the base circle. Cut a circle to fit the top of the cylinder. I used a 1 1/4 inch circle punch but, you could use something to trace if you don't have a punch.


Glue the top circle onto the hat and trim with ribbon. Set aside to dry.


While the hat is drying, work on the other trimmings. Cut a circle from scrap cardstock, poster, or cardboard. It doesn't have to be black because it won't show. It just needs to be a good bit smaller than your doily. This is just a base to glue down your black crepe paper ruffle.


Ring the edge of your cardstock circle with glue and smoosh crepe paper making sure it is slightly smaller than the doily but bigger than the bottom of the skull so all the layers will show.


Rip a few pages out of the dictionary and make a lolly. 


I would tell you how, but Rhonna Farrer does an awesome job on her video which you can find here.


Unroll the copper scrubber and cut it down the center. I used my Tonic scissors, but you can probably use old scissors or wire cutters if you don't have them.


Wear work gloves to pull the copper apart then smash it back together until your "nest" is the size you want it based on your candlestick. This is metal and will cut your hands when you pull, so wear gloves, be careful, and take your time. I LOVE the shimmery effect! It's worth the effort.

The last step is to hot glue each layer down. I didn't glue down my copper because I use the candlestick for my apothecary


I love the finished Halloween centerpiece for your table or fireplace mantel.


I made a slightly more expensive version with lace trim on the top hat and spider web wired ribbon. I love both!


Dolen Diaries

Friday, July 25, 2014

Crib Bench

Originally, this bench was going to serve as a drop zone by the back door. We made it not very deep so it would fit in the hallway and hold stuff you need to put down as SOON as you walk in the door so you can run to the bathroom because you waited instead of using the not very clean public restroom. Annnywho, it would have had a coat rack above it.


The house we ended up buying had a built in drop zone (also called a mud room even though it is not a room). So then the bench was supposed to go here. In the alcove by my new front door which is perfect for a bench made from an old crib that I found on the side of the road. (Yes, I did pick it up. Pride is such a silly thing when you think about it.) I had it all planned out in my head. And then we moved it there and realized it is way too long for that spot.


So now it lives on the back patio.


With the cute new pillows my sister got me for my birthday from World Market.


I have to admit, I kinda like it with my pink knockout roses. 
But now I am back to square one with the front door situation. 
As my daughter would say,
Dagnabbit!

Linked up at http://creativecountrymom.com


Monday, July 7, 2014

Not Bulletin Board

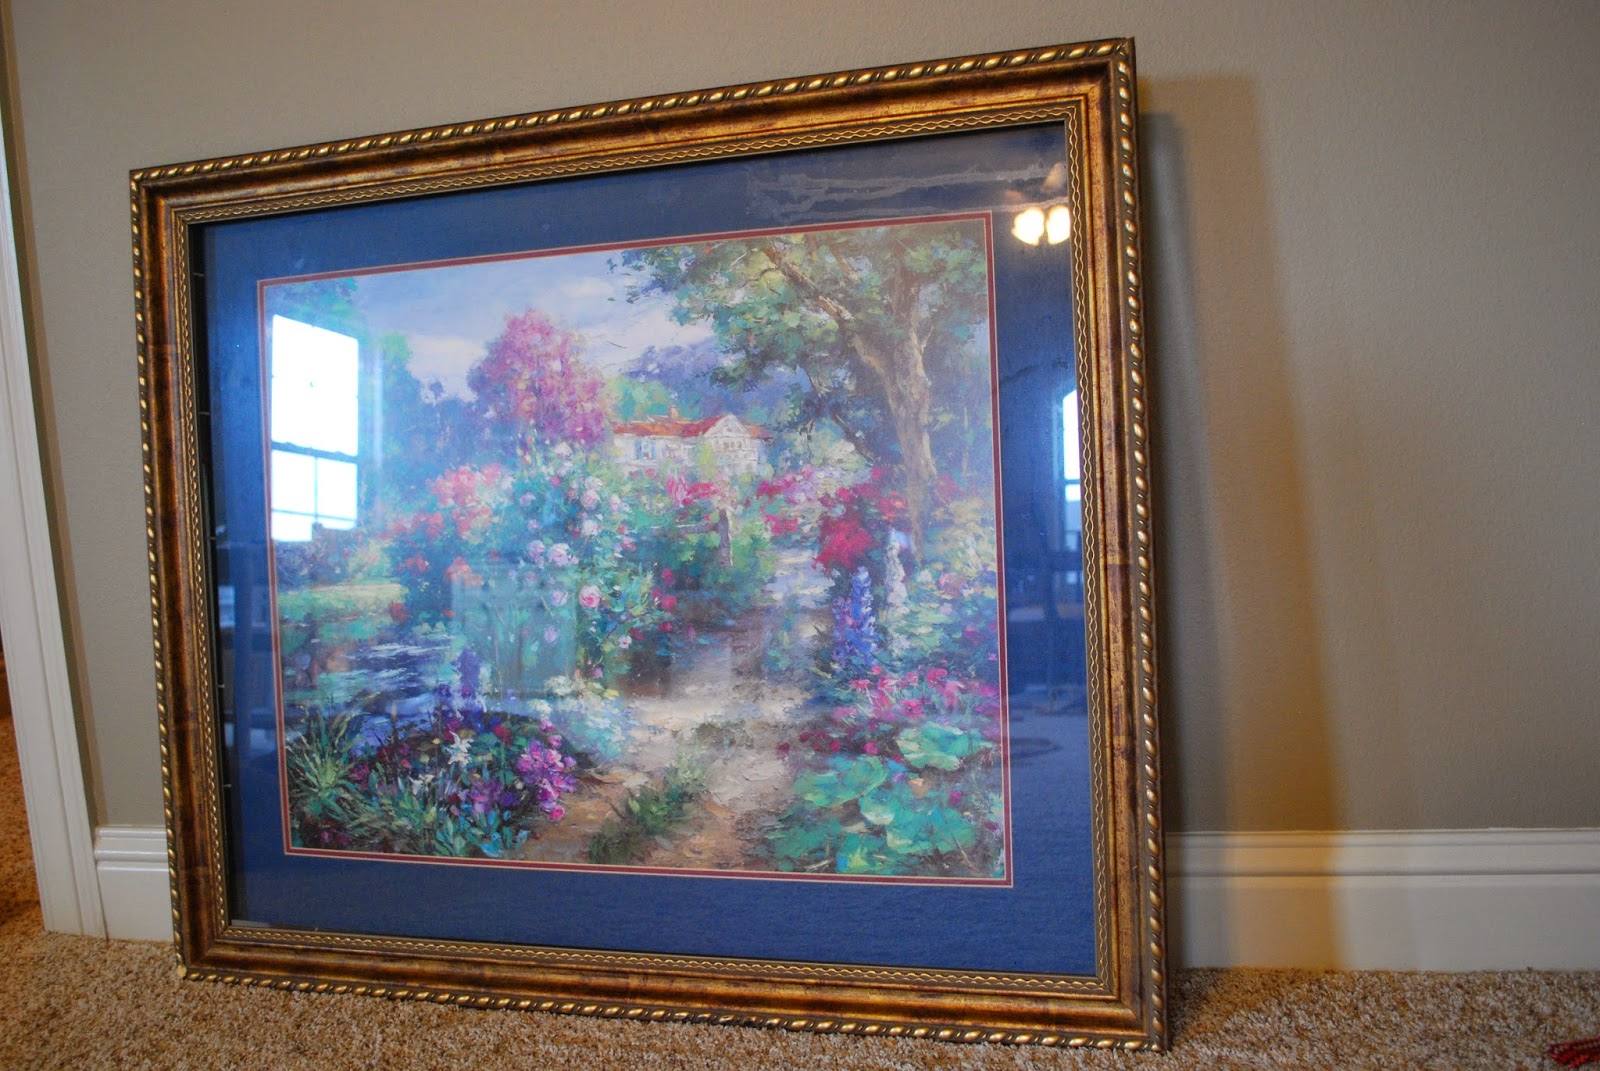
Have I mentioned how much I love consignment sales? Almost as much as I love Goodwill. I found this huge 90's era wall art frame with glass for $20. Original price tag: $125. Back when navy and maroon flowerdy art was in style.


I wasn't exactly sure what I wanted to do with it, and I admit it sat in my attic for several years. Normally, I only buy if I have a specific DIY project in mind.


A chalkboard might have worked, but I didn't need one and hated to paint glass. So often, frames are only a good deal when the glass is gone.


I even considered giving it away at one point because it had a chunk taken out of a corner. How many chipped frames do you store in your attic? I tried to fix it with wood filler. Didn't work.


But I am not a quitter.


I tried drywall spackling next by wetting my finger and molding it into the shape of the rope trim a thin layer at a time.


Next, I sanded it carefully, smoothing it into shape.

The next part of this project was to wrap the foam core "painting" with two layers of burlap leftover from a wedding my sisters and I decorated. You can see the wedding here. The frame was painted ivory and I might wax or glaze it, but I kinda like it this way. At least for now.

 
Admit it, you can't tell where the missing chunk of frame was. I have skills.


Pass or Fail?


I like to hang pictures on it with the cute navy ikat washi tape I recently purchased from Michael's Craft Store. I love navy all of a sudden. But not maroon. Or flowerdy art. 


I can also write on it with dry erase marker so my husband can remember the zip code where his company's home office is. He said I should just go buy a new frame. Too much trouble he said. Boys just don't understand.


Linked up to http://chiconashoestringdecorating.blogspot.com/


Addicted 2 DIY